 The beauty below the filth
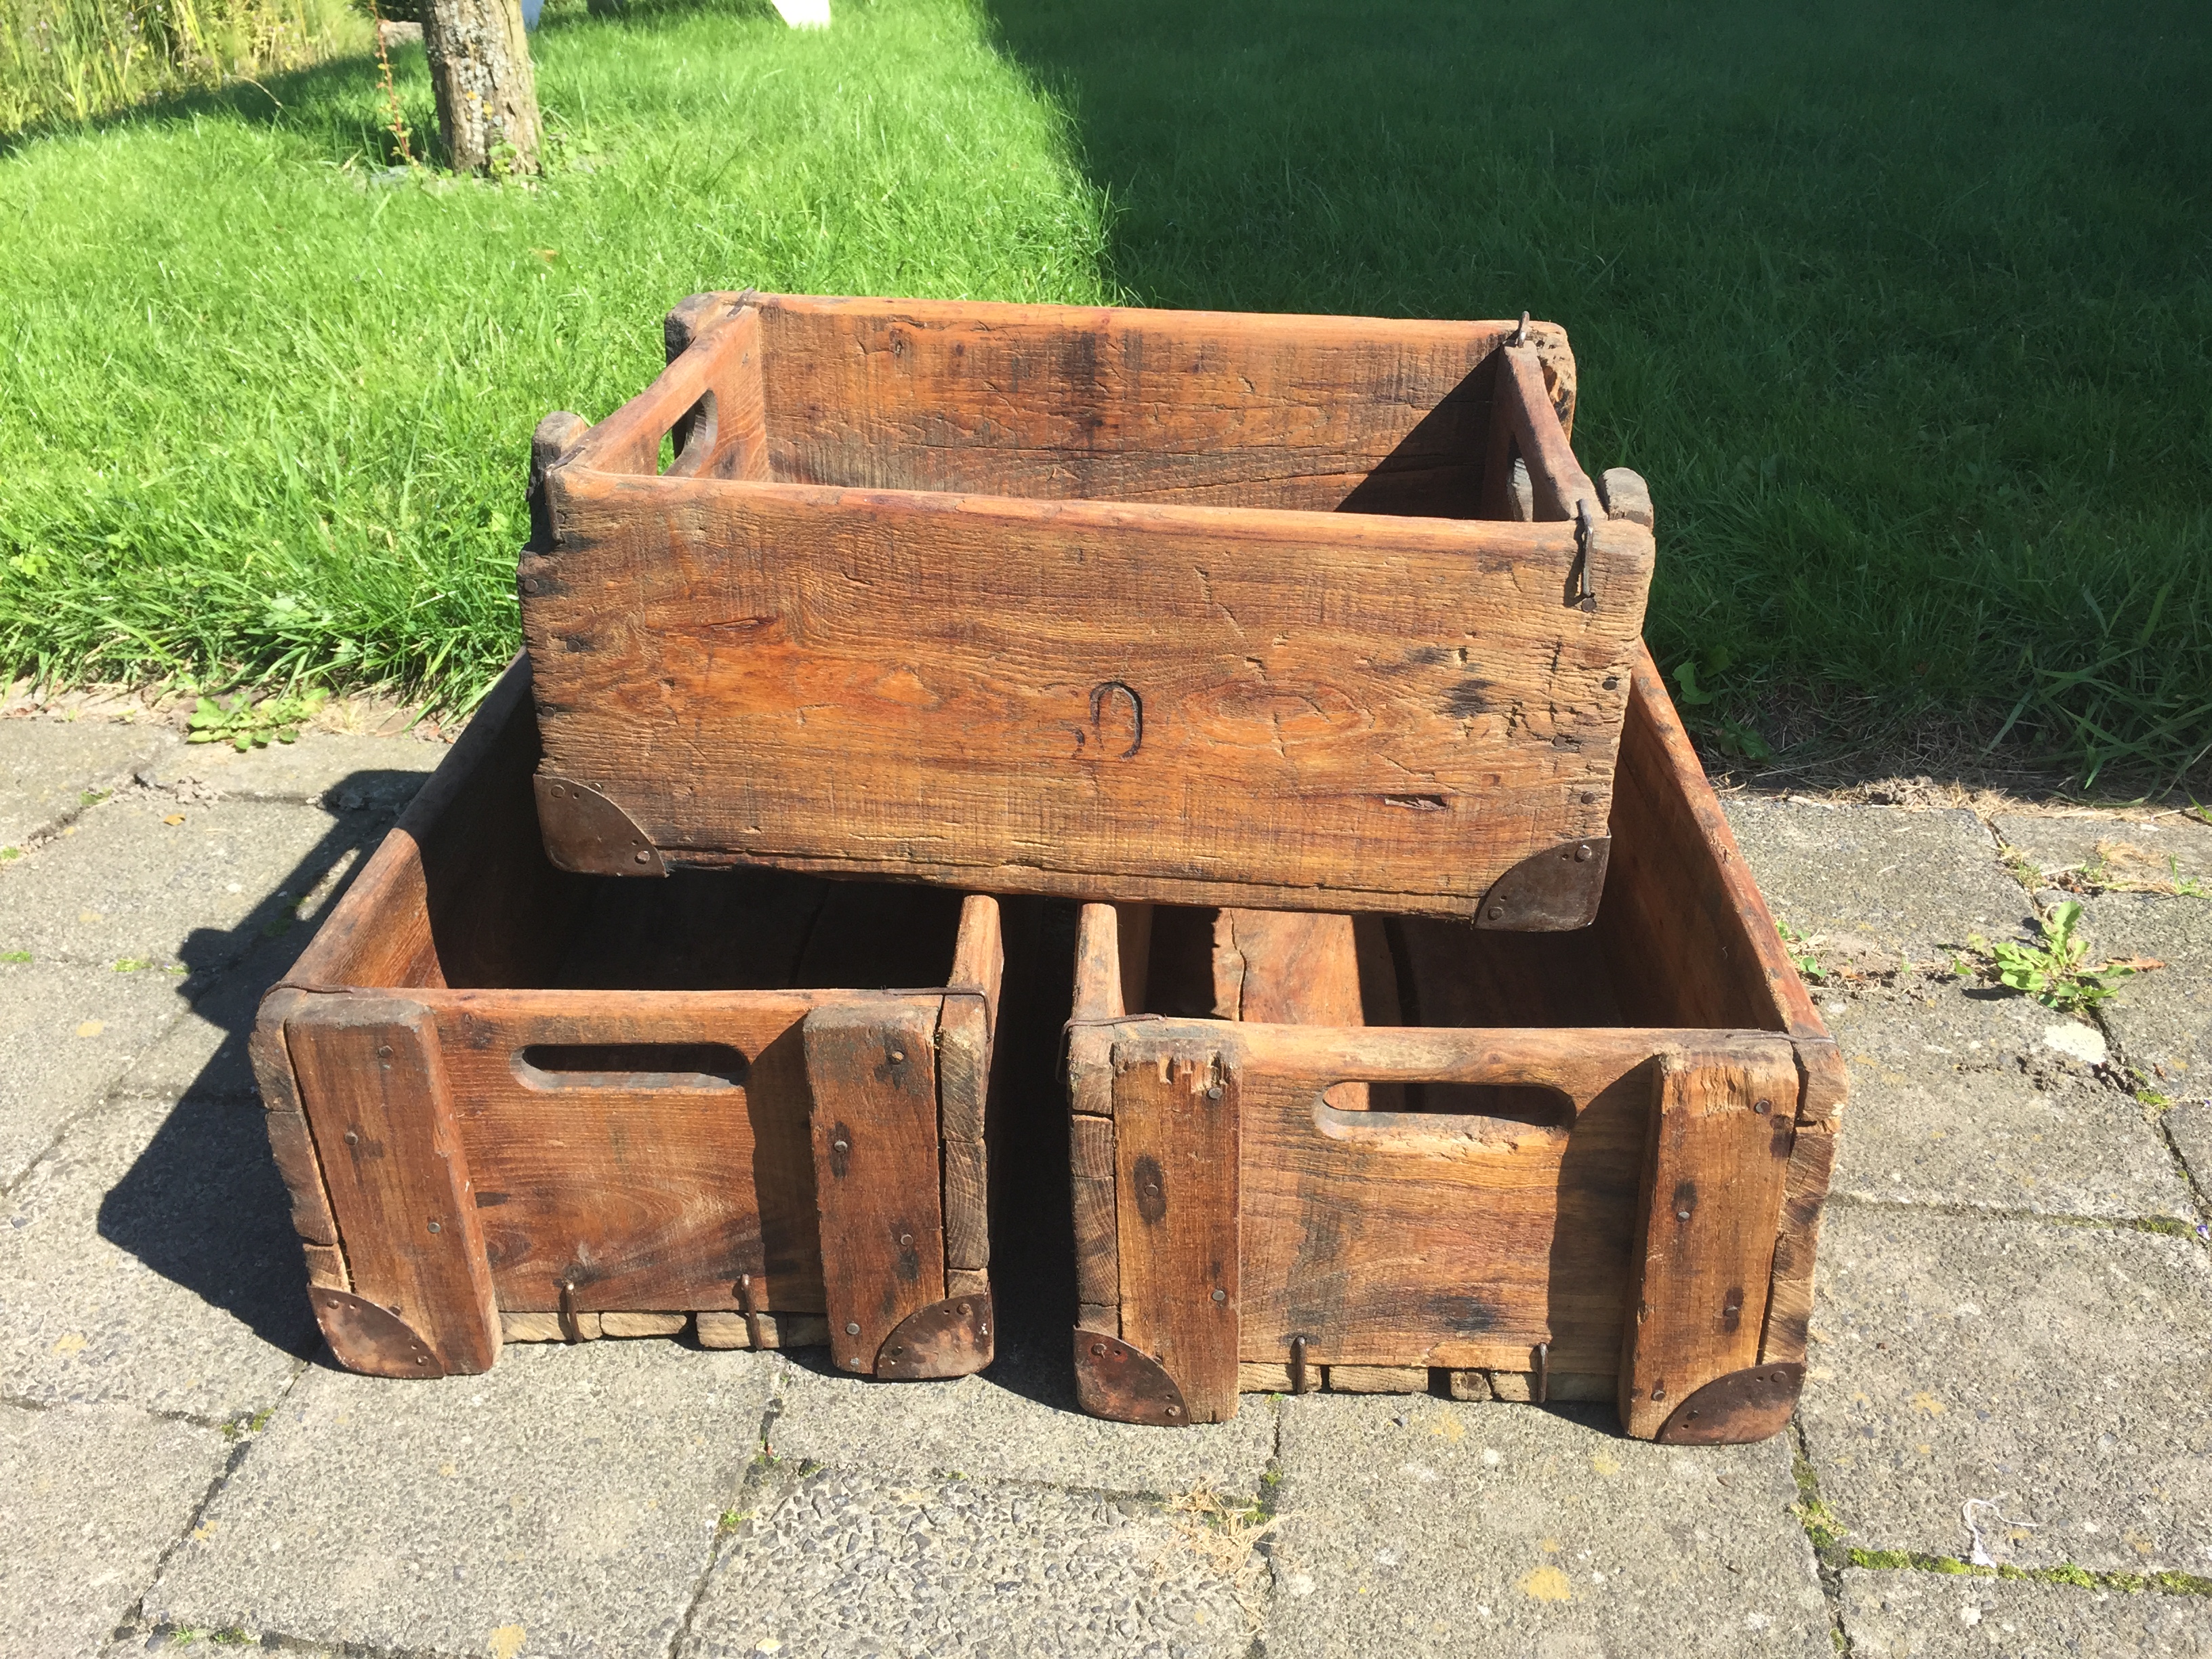
We bought these wooden crates on our first visit to the second hand furniture market of Amiens in 2014. When we found them, they looked terribly: they were extremely dirty and beaten-up, but we loved them. They were made of solid wood so we knew that with a little bit of patience we could make them look beautiful again.
For a long time we did not do anything to them; mainly because we were extremely busy building the house. However, in June 2015 we inscribed ourselves on a furniture restoration course. In principle, the course included all materials and pieces of furniture to work on, but it also offered the possibility of bringing our own pieces, so I decided to bring the crates to the course and spruce them up.
The process:
1. Wash them
The dirty appearance of the wooden crates was due to a thick layer of oil mixed with sawdust. Therefore, the first step was to get rid of the filth. In order to do so I washed the crates with soap and warm water. I used a scrub brush and rub energetically all the surfaces of the crates until the original color of the crates appeared. After rubbing them, I rinse them with cold water and put them in the sun until they were dry.
2. Sanding
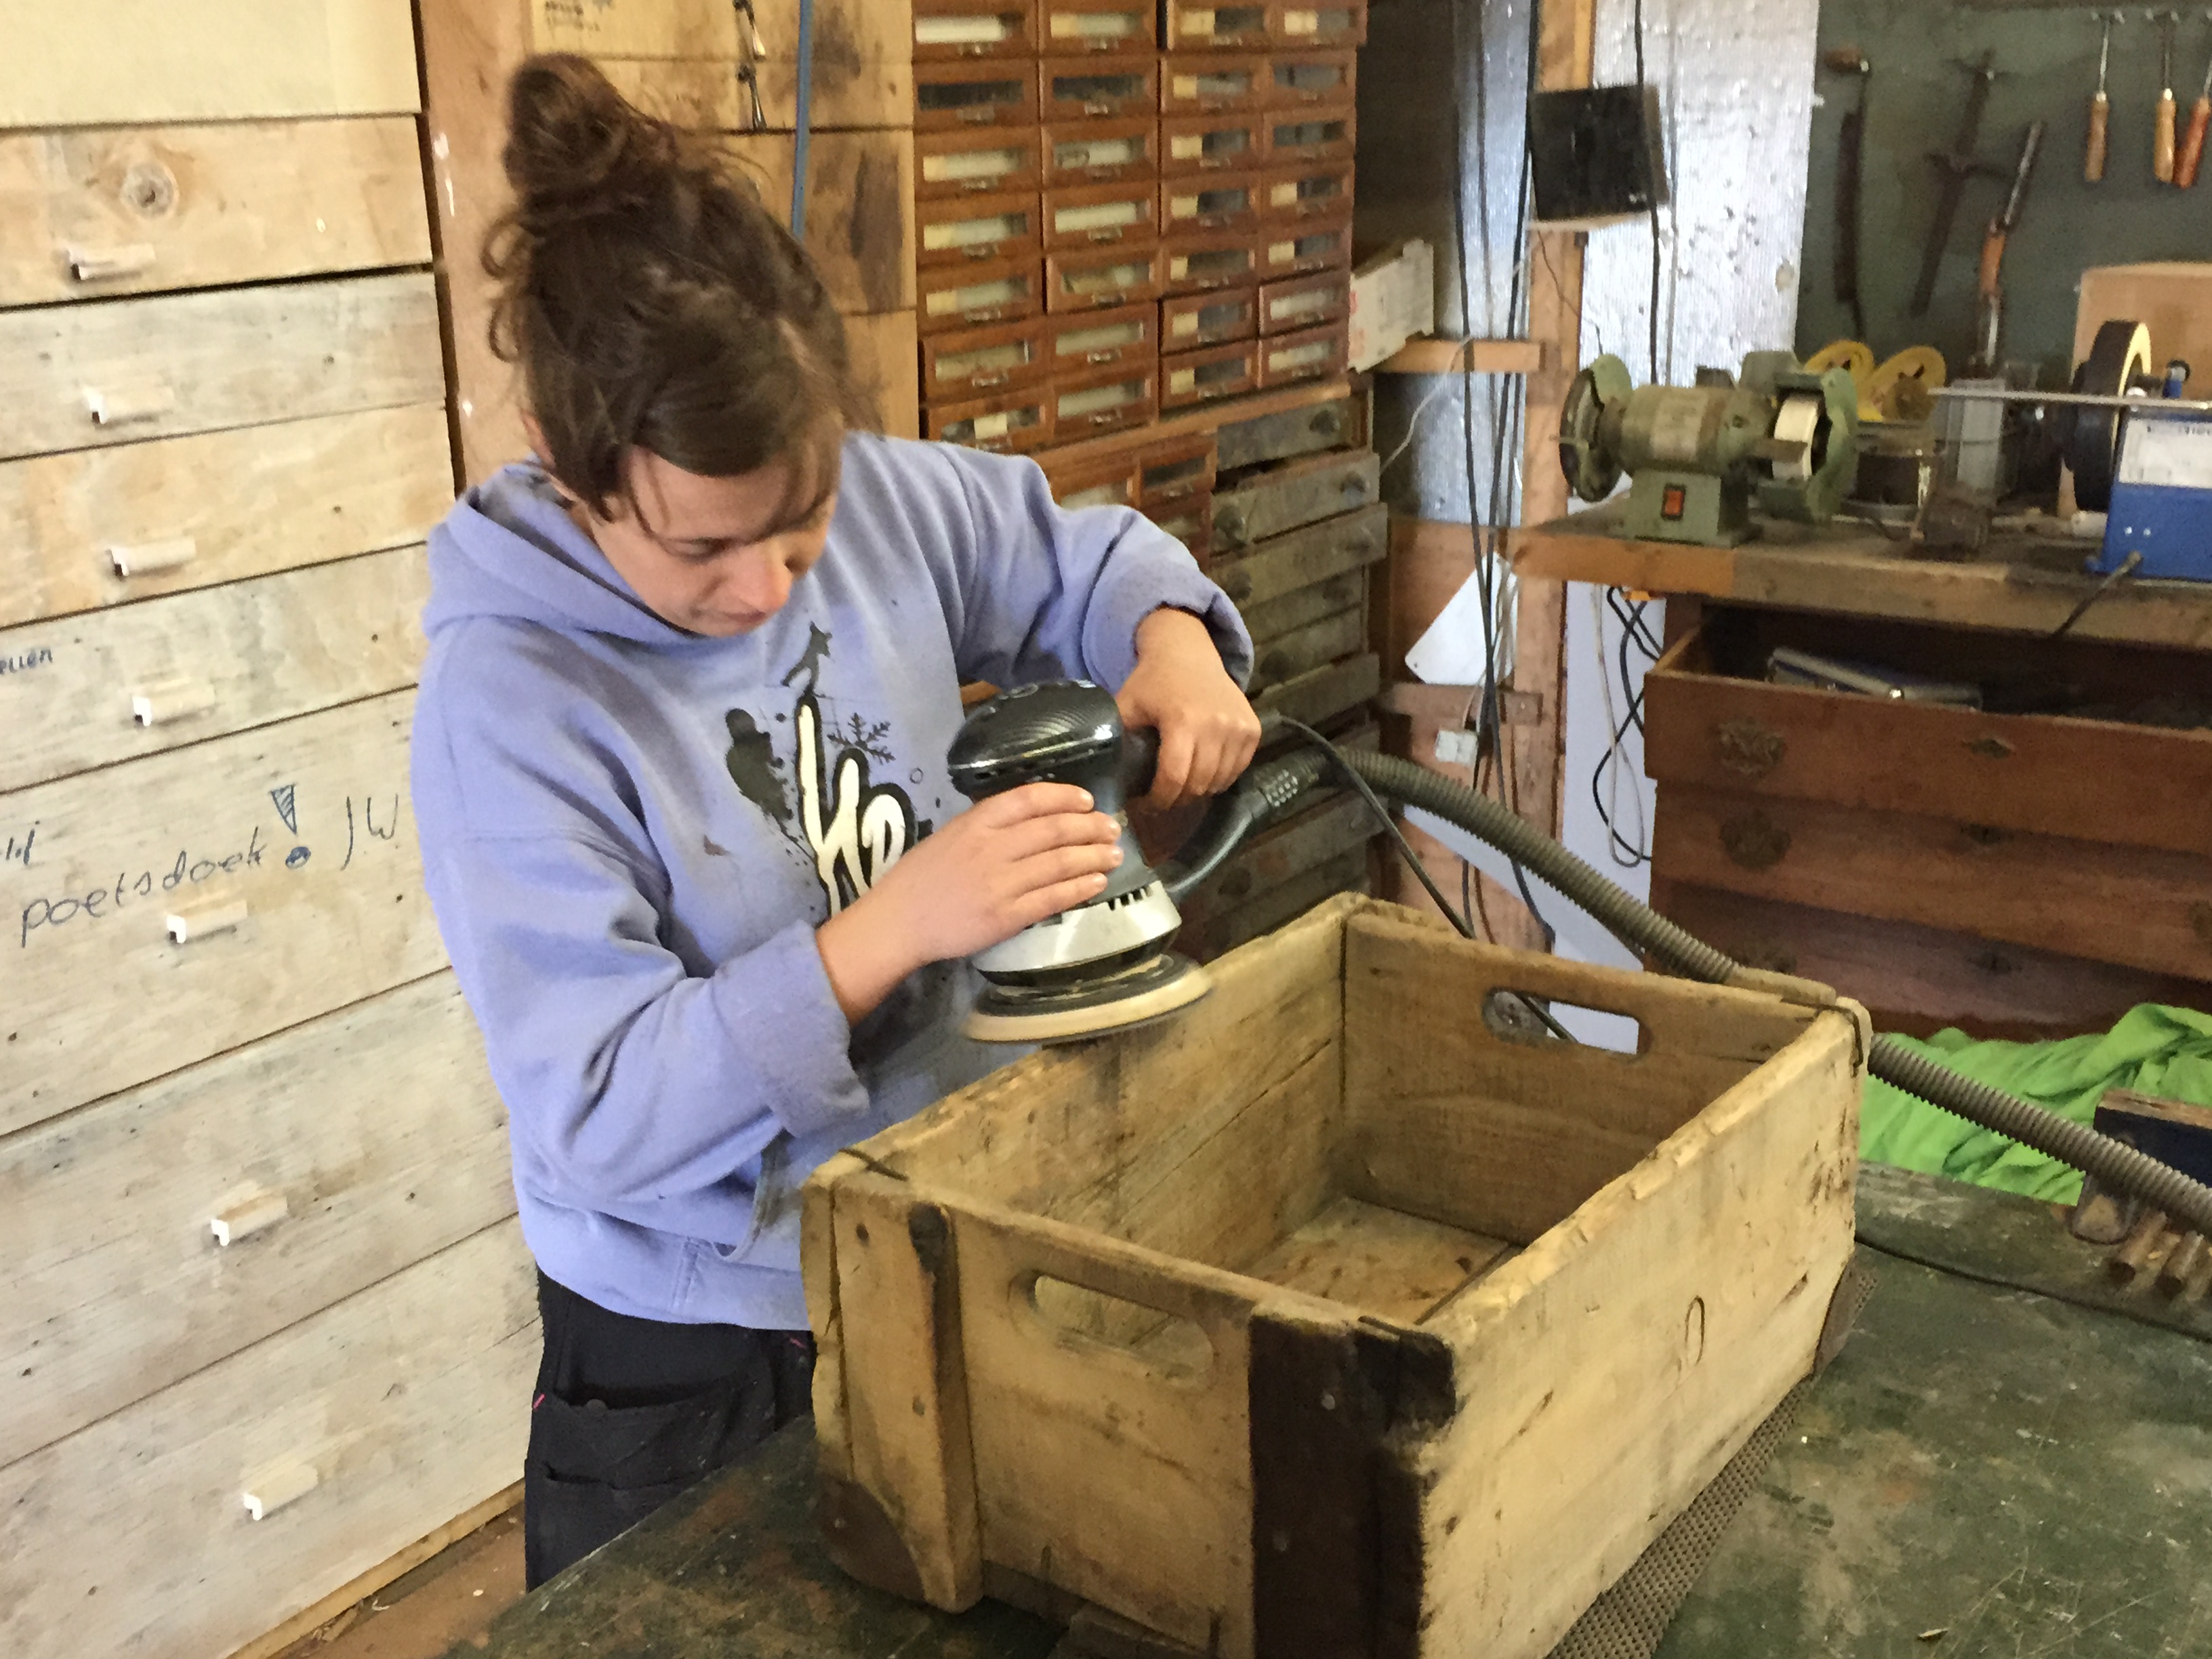
Once the crates were dry I sanded them with an orbital sander. I used a coarse sanding pad (60-80 grit) because I wanted them to retain the rough surface; I just wanted to remove the splinters in general.
3. Reinforcement
Next thing I did was reinforcing the connections of the crates. On the bottom I simply added some nails where the planks were becoming loose. On the sides I had to add a few staples that were missing. Since I did not have staples like those, I made a few from big nails of about 10cm [3.9´´]. I started by grinding the heads off and sharpening the new ends. Then I measured on the crate the vertical and horizontal sides of the other staples. I marked these dimensions on the nails and bent them in order to make a L shape with the tips bent inwards to penetrate the wood. Afterwards I drilled new holes on the crates because some of the old ones were cracked and would not hold the staples. Finally I hammered the new staples in. As part of the reinforcement, I also glued a few chips that were coming loose.
4. Missing patch
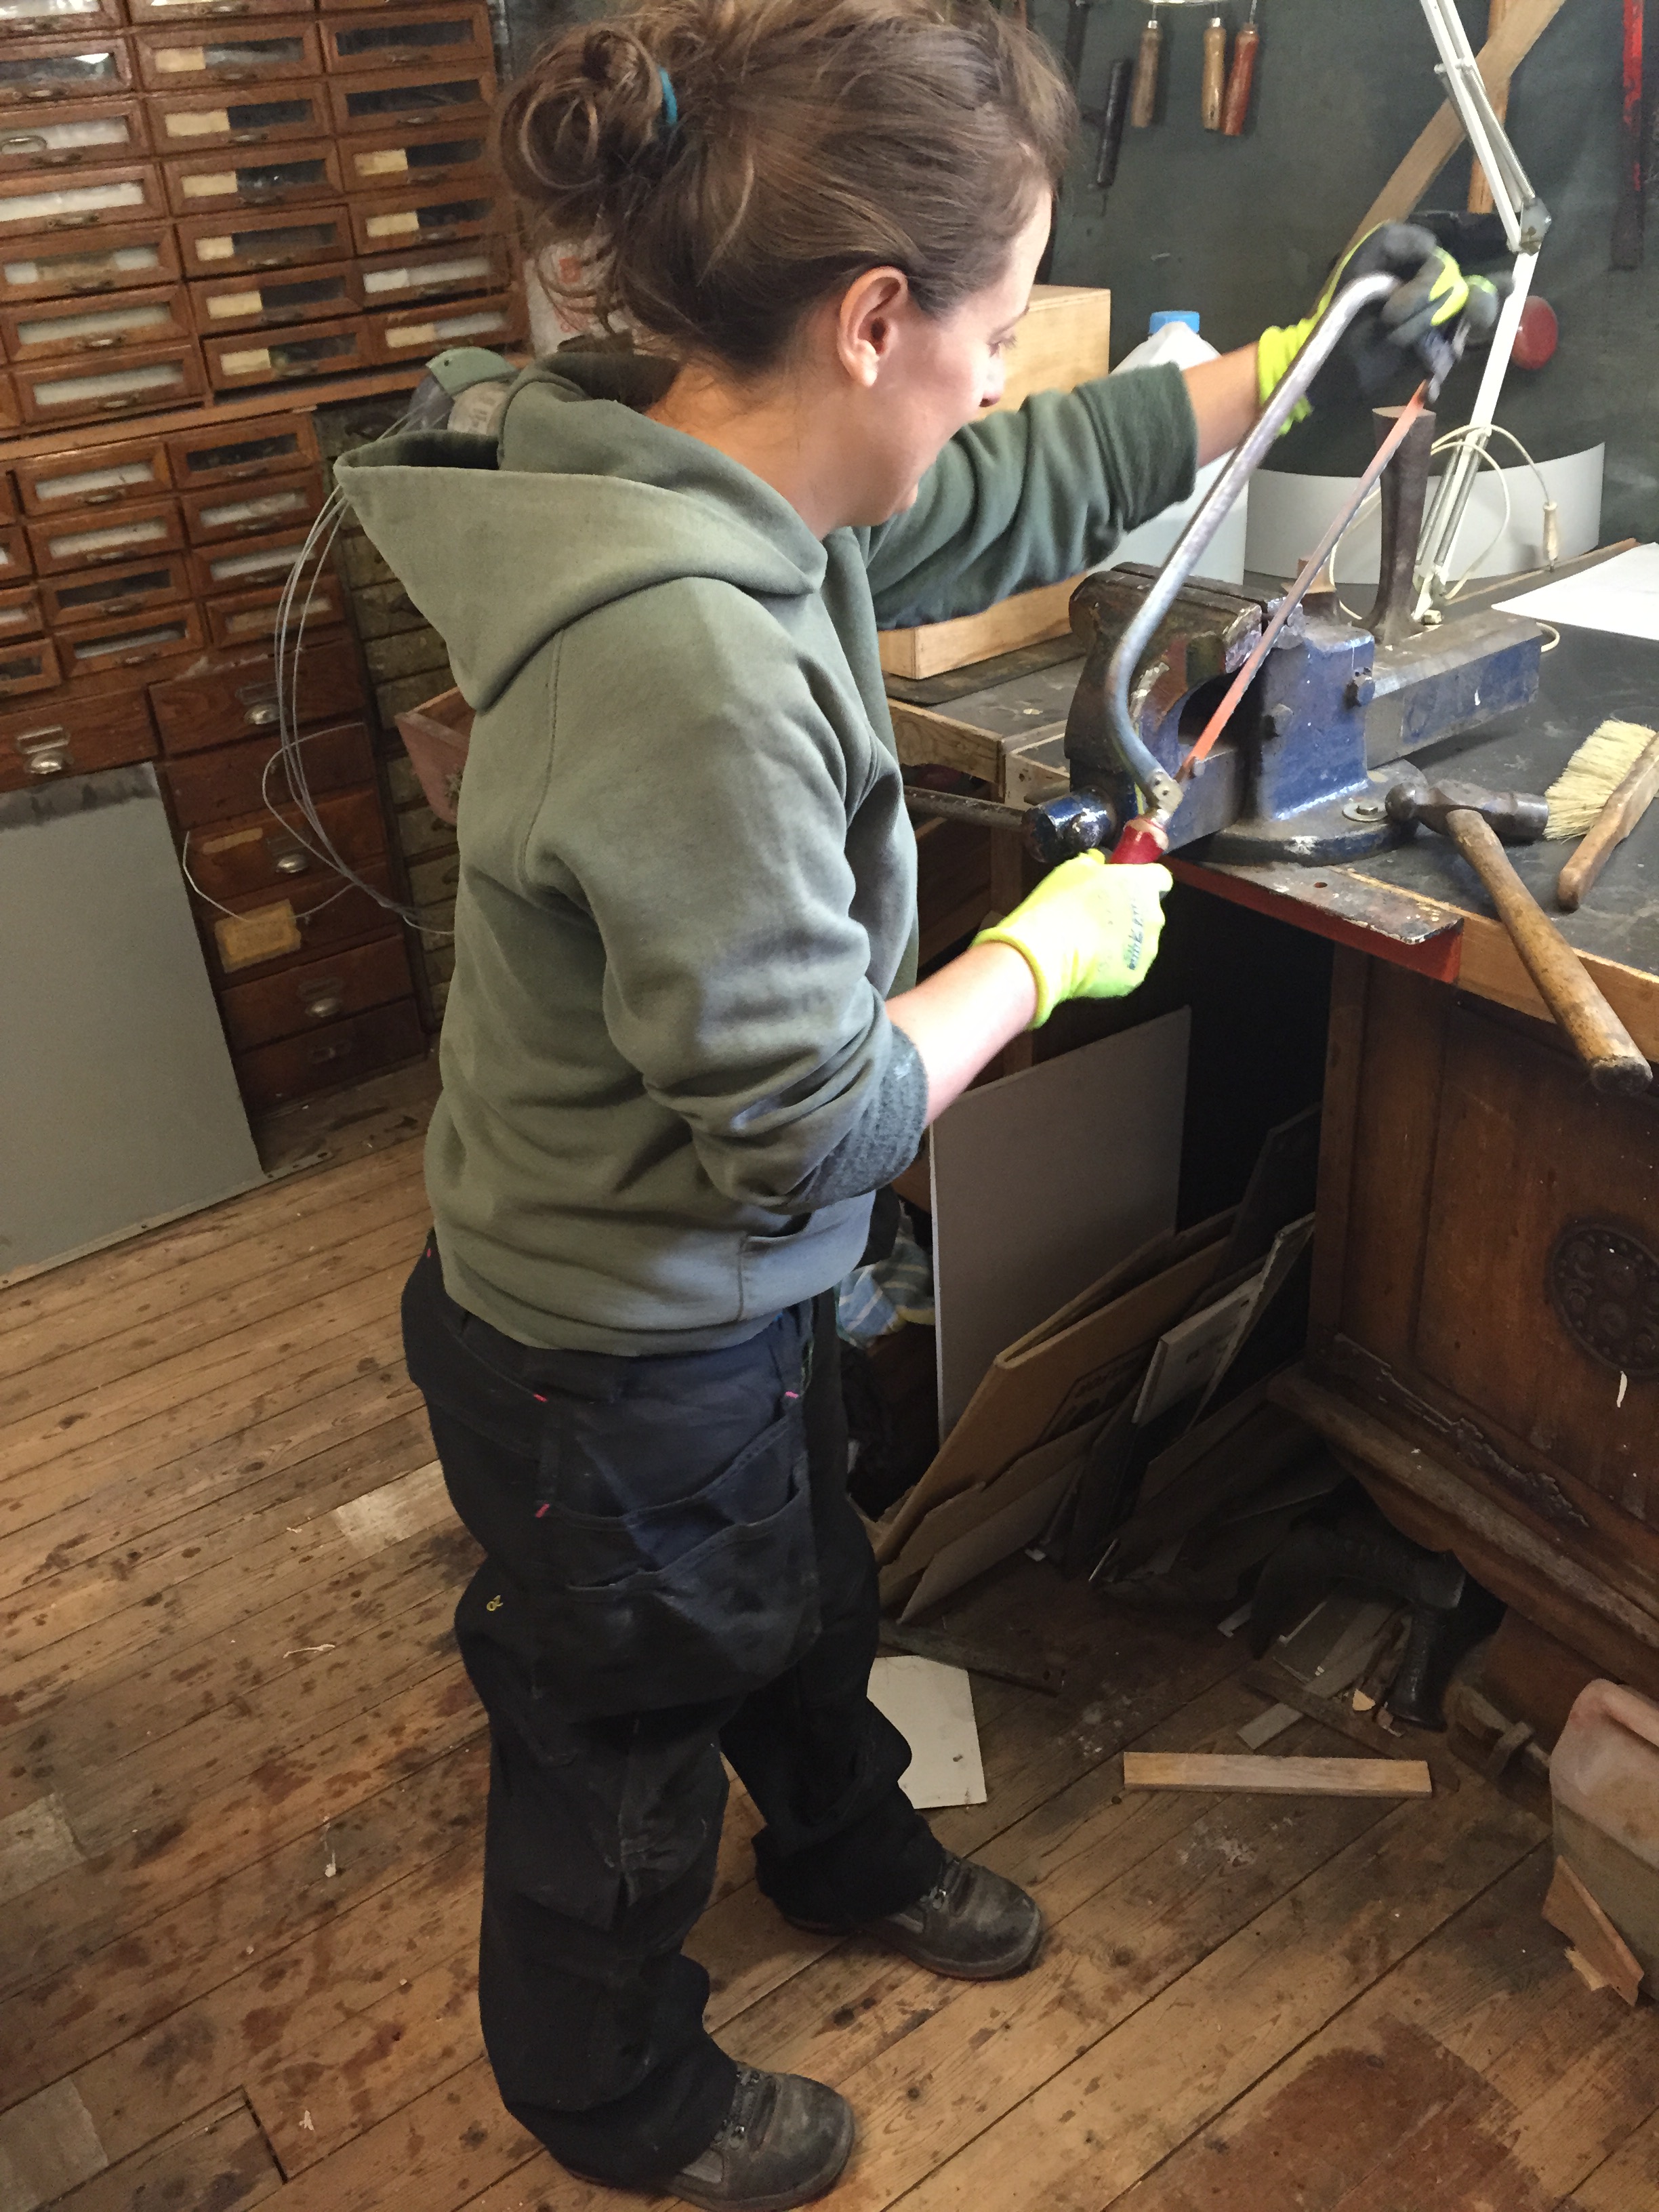
 The crates had the bottom corners reinforced with thin plate steel patches. However, one of the crates had one missing. Making a new patch was certainly the most challenging step of the process. I began by measuring the dimensions of the existing patches and drawing a circle on a thin steel plate. Then I proceeded with cutting the circle with steel cutting scissors and smoothing the edges on the grinding stone. The next step was cutting off a quarter of the circle and making some smaller cuts in order to enable bending the circle. Afterwards, I hammered the metal piece until it took a corner shape. Next I drilled a few holes along the edges so that later on it could be nailed onto the corner of the wooden crate. When the holes were ready I burnt the metal piece with a blowtorch. By doing this I removed the paint that was on the steel and also accelerated the corrosion so that the new patch would look like the older ones. Finally, when the temperature of the metal corner lowered I fixed it onto the corner with some small nails.
5. Oil finish
Once the wooden crates were completely strengthened, it was time for the finishing. I wanted to keep the old wooden look but still protect the solid wood so I opted for a protection oil made from natural oils and carnauba wax. I applied it thoroughly on all surfaces with a brush. Then I waited for the wood to absorb the oil and after 30min I removed the excess with a rag.
And voilà! The crates look simply gorgeous. Now the question, ¿what shall we do with them? ¿What would you use them for?
To see more pictures of the entire process scroll down or click here.
——————————————————————————
 La belleza debajo de la mugre
Estos cajones de madera los compramos la primera vez que fuimos al mercado de muebles de segunda mano de Amiens en 2014. Su aspecto era terrible cuando los encontramos: estaban extremadamente sucios y en un estado precario, pero nos encantaban. Los cajones estaban hechos de madera maciza; por lo que sabíamos que con un poco de paciencia podíamos devolverles la bella apariencia original.
Debido a que hemos estado muy ocupados construyendo la casa, durante mucho tiempo no hicimos gran cosa con ellos. Sin embargo, en Junio de 2015 nos inscribimos en un curso de restauración de muebles. En principio, el curso incluía los materiales y los muebles en los íbamos a trabajar, pero también ofrecía la posibilidad de llevar objetos personales, por lo que decidí llevar los cajones para acicalarlos.
El proceso
1. Lavado
La sucia apariencia de los cajones se debía a una gruesa capa de aceite mezclado con serrín. Por ello, el primer paso era eliminar la suciedad. Para ello, lavé los cajones con agua caliente y jabón. Utilicé un cepillo de cerdas y froté enérgicamente todas las superficies de los cajones hasta salir el color original. Después de frotar, aclaré los cajones con agua fría y los puse al sol para que se secaran.
2. Lijado
Una vez que los cajones estaban secos los lijé con una lijadora circular. Empleé papel de lijado de grano grueso (60-80) ya que quería mantener la superficie áspera; mi intención era eliminar las astillas en general.
3. Refuerzo
 Lo siguiente que hice fue reforzar las conexiones de los cajones. En el fondo simplemente añadí clavos en los lugares en los que las maderas estaban sueltas. En los laterales había que añadir algunas grapas que faltaban. Como no teníamos grapas similares, hice un par utilizando clavos de aproximadamente 10cm. Comencé por serrar las cabezas de los clavos y afilar ambos extremos. Luego medí los tramos horizontal y vertical de las grapas existentes en los cajones. A continuación marqué estas medidas en los clavos y los doblé hasta convertirlos en forma de L con los extremos hacia dentro para que penetraran la madera. Después taladré nuevos agujeros ya que los anteriores estaban agrietados y no iban a sujetar las grapas. Finalmente martilleé las grapas en su sitio. Como parte del reforzado de los cajones también pegué algunas astillas de mayor tamaño que se estaban desprendiendo.
4. Las coderas
Los cajones tenían las esquinas inferiores reforzadas con coderas de chapa. Sin embargo, a uno de los cajones le faltaba una de ellas. Hacer una nueva codera fue uno de los pasos más costosos de todo el proceso. Comencé por medir las dimensiones de las coderas existentes y dibujé un círculo en la chapa. Luego proseguí cortando la chapa con unas tijeras para metal y limé los bordes en la esmeriladora. El siguiente paso era cortar un cuarto del círculo y hacer otros pequeños cortes para facilitar el doblado de la chapa. Después martilleé el círculo de chapa hasta convertirlo en una codera. A continuación taladré varios agujeros a lo largo de los bordes de la codera para poder clavarla posteriormente a la esquina de madera. Cuando lo agujeros estaban listos quemé la codera metálica con un soplete. De esta forma eliminé la pintura de la chapa y a su vez aceleré el proceso de corrosión para que la nueva codera adquiriera rápidamente el aspecto de las existentes. Finalmente, cuando la temperatura de la codera bajó, la clavé a la madera con pequeños clavos.
5. Acabado
Una vez que los cajones estaban completamente reforzados, llegó el momento del acabado. Quería mantener el aspecto de madera vieja pero a su vez proteger la madera de los cajones, por lo que opté por aplicar una protección de aceite natural y cera de carnauba. Apliqué el aceite concienzudamente en todas las superficies utilizando una brocha. Esperé a que la madera absorbiera el aceite y tras 30min eliminé el exceso de aceite con un paño.
Y ¡voilà! Los cajones recuperaron el aspecto precioso. Ahora bien ¿qué deberíamos hacer con ellas? ¿Qué haríais vosotros con ellas?
Para ver más fotos de todo el proceso pichad aquí.
